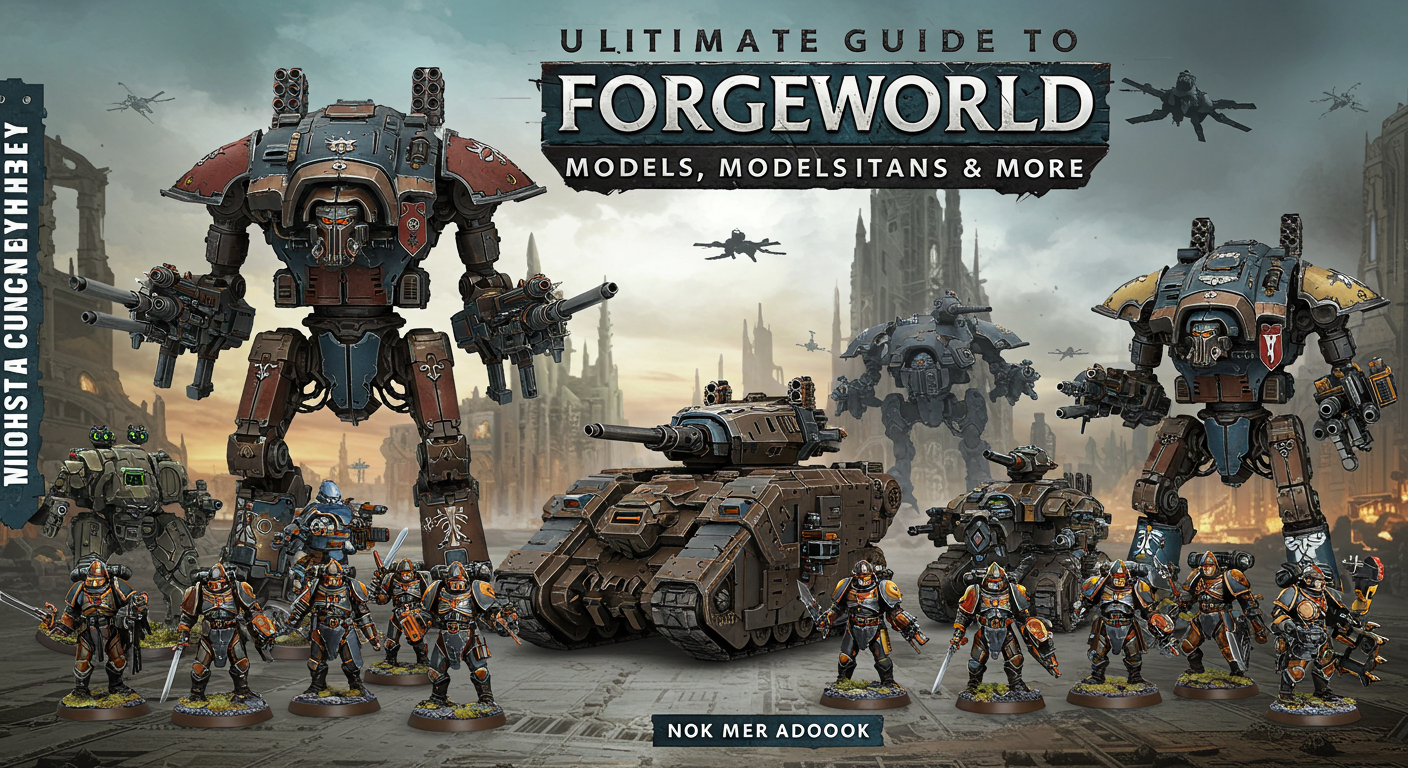
The Death Korps of Krieg, an Astra Militarum faction from Forgeworld, features a gritty, World War I-inspired look. Painting these models requires precision to showcase their somber, battle-worn appearance, with attention to details like gas masks, trench coats, and gear. This guide walks you through painting the Death Korps models, focusing on techniques for achieving a realistic, weathered finish. Whether you’re a beginner or seasoned hobbyist, this guide assumes you have basic knowledge of miniature painting tools.
Essential Supplies
Before you start, gather the following supplies:
- Paints: Acrylic paints (e.g., Citadel, Vallejo, Army Painter) in colors for coats, armor, and details. You’ll also need washes and weathering paints.
- Brushes: Small detail brushes (sizes 0-2) for precision, plus a larger brush for basecoating and drybrushing.
- Primer: Black or grey spray primer for a solid foundation.
- Palette: A wet palette or smooth surface for mixing paints.
- Tools: Sprue cutters, hobby knife, and files for model prep. Tweezers for decals.
- Extras: Matte or satin varnish, sponge for weathering, and pigment powders for mud effects.
Model Preparation
Forgeworld resin models need thorough prep for the best results:
- Cleaning: Soak resin parts in warm, soapy water for 10-15 minutes to remove mold release. Scrub lightly with a toothbrush, rinse, and let dry.
- Assembly: Use a hobby knife and files to remove any flash or mold lines. Test-fit pieces before gluing with super glue. For complex models, like weapon crews, leave parts separate for easier painting.
- Priming: Spray a thin layer of black or grey primer from 10-12 inches away. Let dry for 24 hours.
Basecoating the Trench Coat and Uniform
The trench coats are key to the Death Korps’ look, usually painted in dark, muted tones.
- Base Layer: Use a dark color like Citadel Mechanicus Standard Grey or Vallejo German Field Grey. Thin the paint with water (2:1 ratio) and apply two thin coats for even coverage.
- Highlighting: Apply a lighter shade (e.g., Citadel Dawnstone or Vallejo Neutral Grey) to raised areas like folds and shoulders. Use a fine brush for edge-highlighting and blend it smoothly.
- Wash: Apply Citadel Nuln Oil to deep creases with a small brush, avoiding flat areas. Let dry for 30 minutes.
Painting Armor and Gear
The armor, helmets, and gear should have a metallic yet weathered look.
- Basecoat Metals: Paint armor and tools with a dark metallic like Citadel Leadbelcher or Vallejo Gunmetal, using thin layers.
- Wash: Apply Nuln Oil to darken recesses. For a rusted look, mix in Agrax Earthshade.
- Metal Highlights: Use a bright metallic like Citadel Stormhost Silver to highlight sharp edges like bayonets and helmet rims.
- Leather Elements: Basecoat belts, boots, and pouches with a dark brown (e.g., Mournfang Brown). Highlight with a lighter brown (Skrag Brown) and wash with Agrax Earthshade.
Detailing Gas Masks and Lenses
Gas masks are a focal point and need careful attention:
- Mask Basecoat: Paint the rubber parts with a dark green or black (e.g., Citadel Castellan Green or Abaddon Black).
- Highlighting: Drybrush or edge-highlight with a lighter green (e.g., Elysian Green) to bring out the details.
- Lenses: For glowing lenses, use a red color like Citadel Mephiston Red. Layer with lighter reds, leaving a dark corner. Add a small white dot for reflection, then apply gloss varnish for shine.
Weathering for a War-Torn Effect
Weathering helps create a muddy, battle-worn look for your models.
- Chipping: Use dark metallic paint (e.g., Leadbelcher) on high-wear spots with a sponge to simulate scratches. Add lighter metallic (e.g., Stormhost Silver) for fresh damage.
- Mud Effects: Mix pigment powders (e.g., Vallejo Dark Earth or AK Interactive Mud) with water or fixer to create a paste. Apply to lower legs, coat hems, and bases for a caked effect. Brush off excess once dry.
- Rust: Use rust-colored paint (e.g., Citadel Ryza Rust) on metals, blending with Agrax Earthshade for a weathered look.
Basing the Model
The base should reflect the muddy, trench-filled landscape of Krieg.
- Texture: Apply a texture paint (e.g., Citadel Astrogranite Debris) and paint it with a dark brown (e.g., Mournfang Brown).
- Drybrushing: Highlight the texture with a lighter brown (e.g., Skrag Brown), then a grey (e.g., Dawnstone).
- Details: Add small debris like resin scraps or wire, painted to match the model. Apply mud pigments to unify the base and figure.
- Vegetation: Use minimal static grass or flock for sparse, desolate plants.
Adding Decals and Markings
Decals help add authenticity but need careful application:
- Prep: Paint decal areas (e.g., shoulder pads) with a smooth color like Mechanicus Standard Grey. Apply gloss varnish to create a clean surface.
- Application: Soak the decal in water for 10-20 seconds, then place it on the model with tweezers. Use a damp brush to adjust it. Blot excess water with a tissue.
- Sealing: Apply gloss varnish over the decal, followed by matte varnish to blend it into the model. Weather lightly with chipping or mud.
Final Steps and Protection
- Review: Inspect your model under bright light for any errors or glossy spots. Fix any issues.
- Varnishing: Protect your paint job with matte varnish (e.g., Testors Dullcote). Use a brush or airbrush to apply, avoiding excess. Use gloss varnish on lenses or wet mud areas.
- Presentation: Consider a display base or diorama to enhance your model’s storytelling.
Tips for Streamlined Painting
- Batch Work: Paint multiple models at once, focusing on one stage (e.g., all coats) to keep colors consistent.
- Test Techniques: Practice weathering or lens effects on scrap parts before applying them to models.
- Inspiration: Look at World War I photos or Death Korps artwork for color and weathering ideas.
Conclusion
Painting Forgeworld Death Korps of Krieg miniatures is a rewarding process that lets you bring these battle-hardened models to life. With careful basecoating, highlighting, and weathering, you can create a striking force for the tabletop. Experiment with different techniques and colors to personalize your regiment and enjoy the creative process!

Thomas R. McWilliams is a seasoned tabletop wargaming expert with over 15 years of experience in the Warhammer 40k community. Specializing in Forgeworld’s premium resin miniatures, he has built and painted award-winning armies, including Titans and Death Korps of Krieg, showcased at regional tournaments. Thomas regularly contributes to hobbyist forums like r/Warhammer and writes guides on miniature collecting and competitive play, earning recognition for his in-depth knowledge of Games Workshop’s ecosystems. His passion for Warhammer’s lore and craftsmanship informs his authoritative insights, making him a trusted voice for collectors and players alike.


